


Table of contents
Event mechanism
Event triggered three stages
There are three stages of event triggering:
- The window propagates to the event trigger, and it will be triggered when it encounters a registered capture event
- Trigger the registered event when it is propagated to the event trigger
- Propagate from the event trigger to the window, it will be triggered when it encounters a registered bubbling event
Event triggering will generally follow the above order, but there are special cases. If both bubbling and capturing events are registered for a child node in a body, the event triggering will be executed in the order of registration.
// The following will print bubbling first and then capture
node.addEventListener(
'click',
event => {
console.log('bubbling')
},
false
)
node.addEventListener(
'click',
event => {
console.log('capture')
},
true
)
Usually we use addEventListener to register events. The third parameter of this function can be a boolean or an object. For the boolean useCapture parameter, the default value of this parameter is false, and useCapture determines whether the registered event is a capture event or a bubbling event. For object parameters, the following attributes can be used
- capture: Boolean value, the same as useCapture
- once: a boolean value, a value of true means that the callback will only be called once, and the listener will be removed after the call
- passive: Boolean value, which means that preventDefault will never be called
Generally speaking, if we only want the event to be triggered only on the target, at this time we can use stopPropagation to prevent the further propagation of the event. Usually we think that stopPropagation is used to prevent events from bubbling. In fact, this function can also prevent events from being captured. stopImmediatePropagation can also prevent the event, but it can also prevent the event target from executing other registered events.
node.addEventListener(
'click',
event => {
event.stopImmediatePropagation()
console.log('bubbling')
},
false
)
// Clicking on node will only execute the above function, the function will not be executed
node.addEventListener(
'click',
event => {
console.log('capture')
},
true
)
Event agent If the child node in a node is dynamically generated, then the child node needs to register for the event, it should be registered on the parent node
<ul id="ul">
    <li>1</li>
    <li>2</li>
    <li>3</li>
    <li>4</li>
    <li>5</li>
</ul>
<script>
    let ul = document.querySelector('#ul')
    ul.addEventListener('click', (event) => {
        console.log(event.target);
    })
</script>
Compared with registering events directly to the target, the event proxy method has the following advantages:
- Save memory
- No need to log off events for child nodes
Cross-domain
Because the browser has a same-origin policy for security reasons. In other words, if there is a difference between the protocol, domain name, or port, it is cross-domain, and the Ajax request will fail.
So for what security considerations did this mechanism be introduced? In fact, it is mainly used to prevent CSRF attacks. To put it simply, a CSRF attack uses the user's login status to initiate malicious requests.
In other words, without the same-origin policy, website A can be accessed by Ajax from any other source. If you still have a login state in the current website A, then the other party can get any information about you through Ajax. Of course, cross-domain does not completely prevent CSRF.
Then let's consider a question. The request is cross-domain, so has the request been sent out? The request must have been sent, but the browser intercepted the response. You may be wondering why cross-domain requests can be initiated through forms, but why not Ajax. Because in the final analysis, cross-domain is to prevent users from reading the content under another domain name. Ajax can get the response. The browser thinks this is insecure, so it intercepts the response. However, the form does not get new content, so cross-domain requests can be initiated. It also shows that cross-domain does not completely prevent CSRF, because the request is sent after all.
Next, we will learn several common ways to solve cross-domain problems in the future.
JSONP The principle of JSONP is very simple, that is, it uses the vulnerability of the
<script>
tag without cross-domain restrictions. Point to an address that needs to be accessed through the
<script>
tag and provide a callback function to receive data when communication is required.
JSONP is easy to use and has good compatibility, but it is limited to get requests. In development, you may encounter multiple JSONP requests with the same callback function name. At this time, you need to encapsulate a JSONP yourself. The following is a simple implementation
function jsonp(url, jsonpCallback, success) {
  let script = document.createElement('script')
  script.src = url
  script.async = true
  script.type = 'text/javascript'
  window[jsonpCallback] = function(data) {
    success && success(data)
  }
  document.body.appendChild(script)
}
jsonp('http://xxx', 'callback', function(value) {
  console.log(value)
})
CORS
CORS requires both browser and backend support. IE 8 and 9 need to be implemented through XDomainRequest.
The browser will automatically perform CORS communication. The key to implementing CORS communication is the backend. As long as the back-end implements CORS, cross-domain is achieved.
CORS can be enabled by setting Access-Control-Allow-Origin on the server side. This attribute indicates which domain names can access resources. If a wildcard is set, it means that all websites can access resources.
Although the setting of CORS has nothing to do with the front end, if the cross-domain problem is solved in this way, two situations will occur when the request is sent, namely a simple request and a complex request.
Simple request
Take Ajax as an example, when the following conditions are met, a simple request will be triggered
- Use one of the following methods:
- GET
- HEAD
POST
The value of Content-Type is limited to one of the following three:
- text/plain
- multipart/form-data -application/x-www-form-urlencoded
Complex request
Obviously, a request that does not meet the above conditions must be a complex request. For a complex request, a pre-check request is first initiated. The request is an option method. Through the request, it is known whether the server allows cross-domain requests. For preflight requests, if you have used Node to set up CORS, you may have encountered such a pit. The following takes the express framework as an example:
app.use((req, res, next) => {
  res.header('Access-Control-Allow-Origin', '*')
  res.header('Access-Control-Allow-Methods', 'PUT, GET, POST, DELETE, OPTIONS')
  res.header(
    'Access-Control-Allow-Headers',
    'Origin, X-Requested-With, Content-Type, Accept, Authorization, Access-Control-Allow-Credentials'
  )
  next()
})
The request will verify your Authorization field, if not, an error will be reported. After the front end initiates a complex request, you will find that even if your code is correct, the returned result will always be an error. Because the preflight request will also enter the callback, the next method will also be triggered, because the preflight request does not contain the Authorization field, so the server will report an error. To solve this problem is very simple, just filter the option method in the callback.
res.statusCode = 204
res.setHeader('Content-Length', '0')
res.end()
document.domain
This method can only be used when the second-level domain names are the same. For example, a.test.com and b.test.com are applicable to this method. Just add document.domain ='test.com' to the page to indicate that the second-level domain names are the same to achieve cross-domain
postMessage
This method is usually used to obtain third-party page data embedded in the page. One page sends the message, the other page determines the source and receives the message
// send message
window.parent.postMessage('message','http://test.com')
// Receiving message
var mc = new MessageChannel()
mc.addEventListener('message', event => {
var origin = event.origin || event.originalEvent.origin
if (origin ==='http://test.com') {
console.log('Verification passed')
}
})
Service Worker is an independent thread running behind the browser, which can generally be used to implement the caching function. If using Service Worker, the transmission protocol must be HTTPS. Because request interception is involved in Service Worker, the HTTPS protocol must be used to ensure security.
The service worker realizes the cache function generally divided into three steps: first, you need to register the service worker, and then you can cache the required files after listening to the install event, then the next time the user visits, you can check whether there is a cache by intercepting the request. , If there is a cache, the cache file can be read directly, otherwise, the data will be requested. The following is the realization of this step:
// index.js
if (navigator.serviceWorker) {
navigator.serviceWorker
.register('sw.js')
.then(function(registration) {
console.log('service worker registered successfully')
})
.catch(function(err) {
console.log('servcie worker registration failed')
})
}
// sw.js
// Monitor the `install` event, and cache the required files in the callback
self.addEventListener('install', e => {
e.waitUntil(
caches.open('my-cache').then(function(cache) {
return cache.addAll(['./index.html','./index.js'])
})
)
})
// intercept all request events
// If the requested data is already in the cache, use the cache directly, otherwise request the data
self.addEventListener('fetch', e => {
e.respondWith(
caches.match(e.request).then(function(response) {
if (response) {
return response
}
console.log('fetch source')
})
)
})
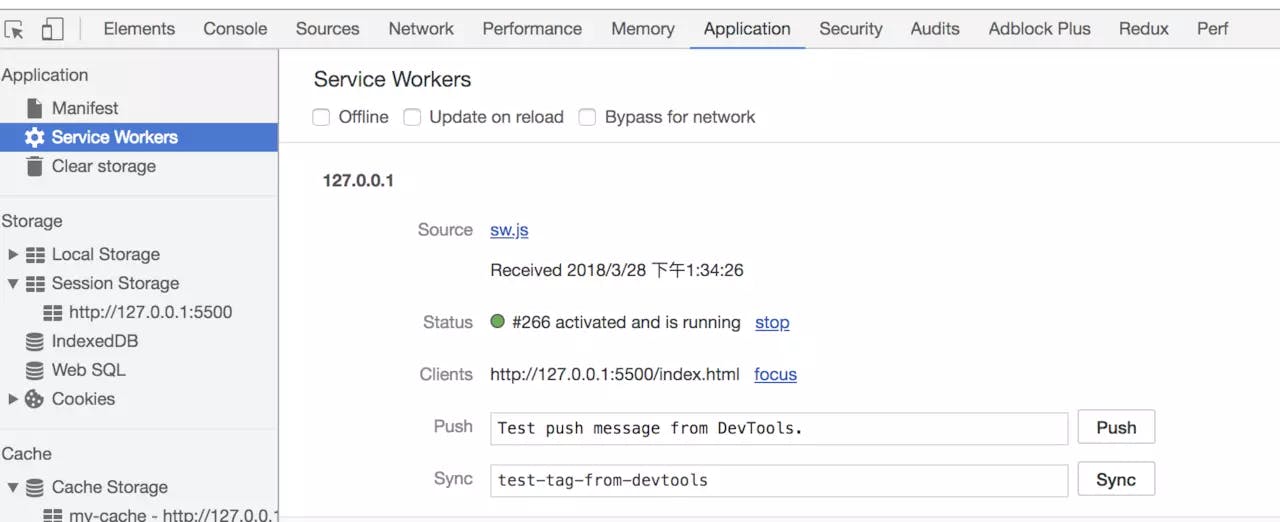
Open the page, you can see that the Service Worker has started in Application in the developer tools
It can also be found in the Cache that the files we need have been cached

When we refresh the page, we can find that our cached data is read from the Service Worker
